This article may contain affiliate links. Learn more on our Partner Program page.
Plug it in, hold your iPhone next to it, tap: Setting up a HomePod is quick and easy. If you run into problems, it could be due to Wi-Fi, a missing setting, or a screen that isn't appearing. This guide walks you through all the steps and shows you what to do if you encounter any issues.
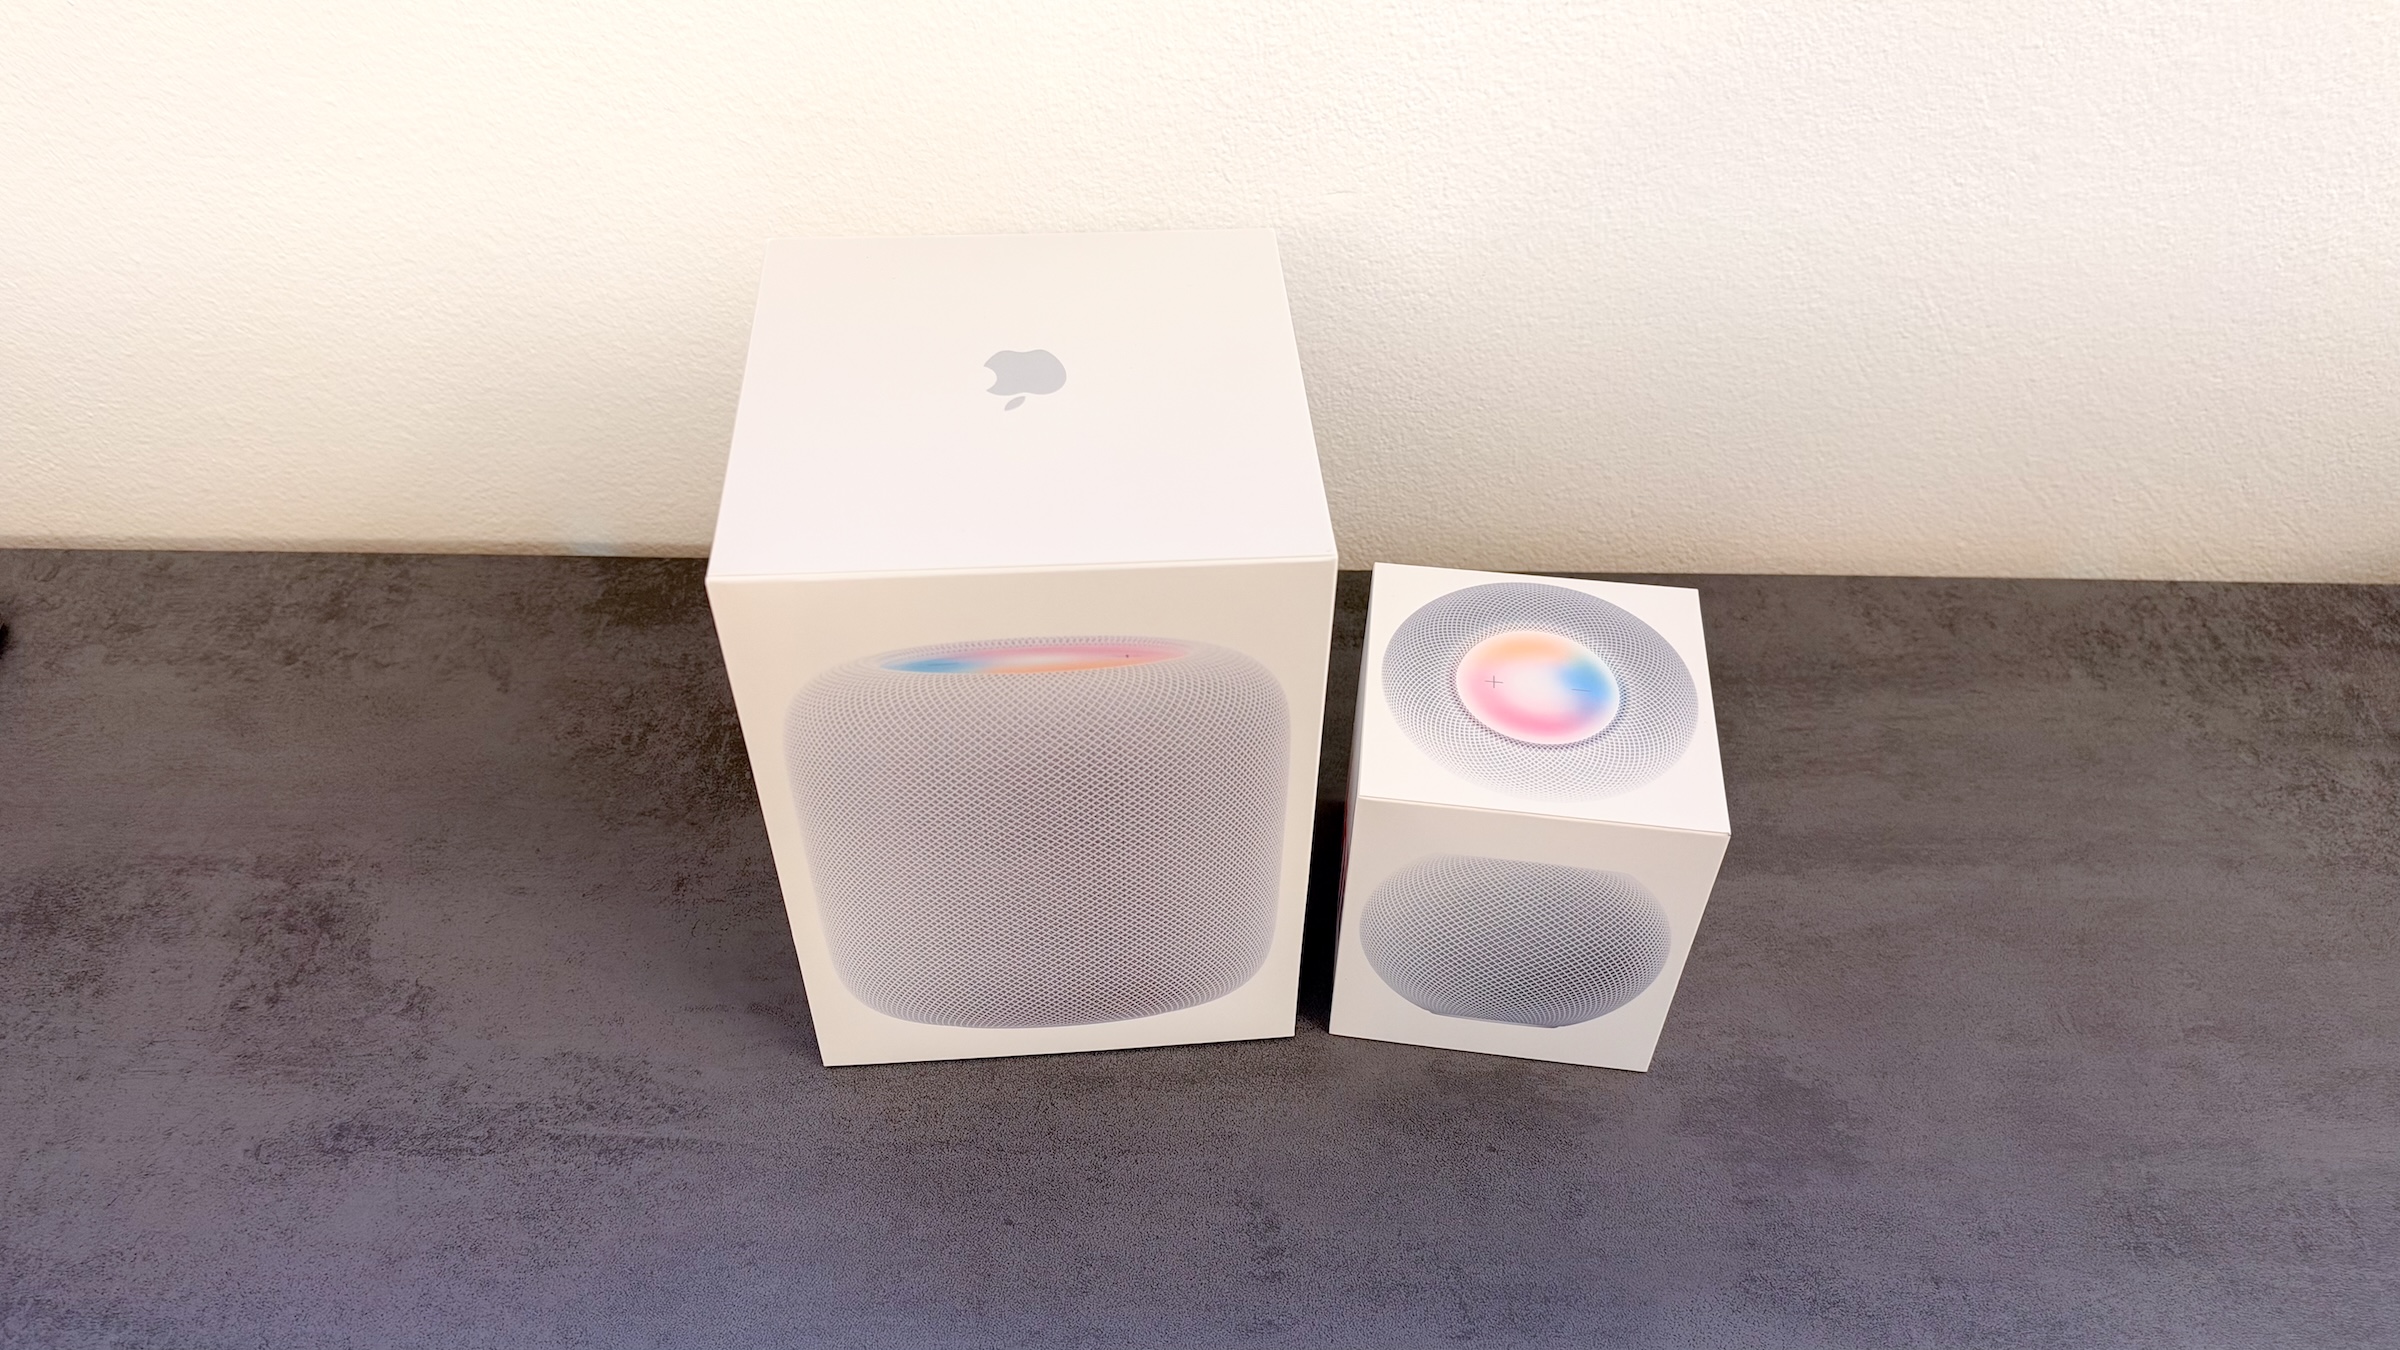
The HomePod is never set up directly on the device itself, but always with an iPhone or iPad. It cannot be set up with a Mac. The process is the same for all models, including the HomePod mini 2. Apple specifies a minimum software version for both the HomePod (2nd generation) and the HomePod mini 2. The two speakers differ primarily in sound and size, as shown in the HomePod mini 2 vs. HomePod 2 comparison.
This is based on Apple's setup and troubleshooting guides, as well as the HomePod manual. I recently set up a HomePod myself using this method.
Key Facts at a Glance
- Setup is done using an iPhone or iPad, not a Mac.
- The HomePod uses the Wi-Fi network that the iPhone or iPad is connected to.
- The HomePod mini 2 requires at least iOS or iPadOS 27.2, the HomePod (2nd generation) at least 16.3.
- If the setup screen does not appear, the process can be completed via the Home app.
- Speech recognition and personal requests can be set up in the Home app.
This is what you need for the setup
Before starting, check four things in the „Settings“ app on your iPhone or iPad:
- Wi-Fi: The device must be connected to the same Wi-Fi network that the HomePod will use. Apple does not recommend using personal hotspots.
- Bluetooth: Must be enabled.
- Apple Account: Your name must be displayed at the top of the settings, otherwise log in.
- Software update: Install available updates under „General“ > „Software update“.
| Model | Minimum required |
|---|---|
| HomePod (2nd generation) | iOS or iPadOS 16.3 |
| HomePod mini 2 | iOS or iPadOS 27.2 |
Place the HomePod on a firm surface and leave at least 15 centimeters of space all around it.
Setting up HomePod: Step by step
- Connect the power: Plug the HomePod into a power outlet. A rotating white light indicates that it is starting up.
- Wait: As soon as a signal tone sounds and a slowly pulsating white light shines at the top, it is ready.
- Hold your iPhone next to it: Unlock your iPhone or iPad and hold it next to the HomePod until the setup screen appears.
- Pairing: Tap „Set up.“ When prompted, center the HomePod in the viewfinder. If that doesn't work, tap „Enter code manually,“ and Siri will give you a four-digit code.
- Select settings: Follow the instructions on the screen.
- To finish: Wait until the setup is complete, and tap „Done“.
The configuration process then continues in the Home app. This can take varying amounts of time, but audio can already be played via Siri during this period.
If the configuration screen does not appear
Lock your iPhone or iPad, unlock it again, go to the Home screen, and hold it near the HomePod again. If that doesn't work, try manually using the Home app:
- Open the Home app.
- Tap the Add button and then tap „Add device“.
- Tap on „More options“.
- Select the HomePod under „Nearby Devices“.
- Tap on „Configure“ and follow the instructions.
If the HomePod doesn't appear there, reset it and start over.
Typical setup errors
| Problem | Solution |
|---|---|
| „WLAN incompatible“ message“ | Forget Wi-Fi on your iPhone or iPad, reconnect, try again |
| WLAN warning for 6 GHz | All routers on the network must use the same name for each band |
| „Loading devices and scenes...“ remains stuck | Wait; after more than 30 minutes, the option to reset your home should appear |
| HomePod mini is flashing orange at the top | If it is connected to a computer or another power supply: connect it with a 20W power supply (9V, 2.22A). |
| „Configuration failed“ | Check the points in the following section one after the other |
Resetting the home is the last resort, because afterwards all home devices and settings have to be set up again.
If it still doesn't work
Apple recommends trying again after each of these steps:
- Ignore Wi-Fi and reconnect.
- Check if the apps „Home“ and „Apple Music“ are installed, and if not, download them from the App Store.
- Activate Bluetooth.
- In the settings, under your name and „Login & Security“, enable two-factor authentication.
- Under your name and „iCloud“ in the „Passwords“ section, enable synchronization for this device.
- For an existing home network, log in with the Apple account that is registered as the owner and use the same Wi-Fi network as the devices.
After setup: These settings are worthwhile
The settings are located in the Home app: Tap HomePod, then the settings button. There you can change the room, reduce the bass, and turn the sound lights on or off. Sound lights are not available on the first-generation HomePod.
For Siri to recognize your voice, open the Home app, tap the More button, then "Home Settings," and under "People," tap your profile. There, turn on "Recognize My Voice." Voice recognition supports up to six people in the home. "Personal Requests" also let you send messages and check your calendar. For this, Siri must be enabled on the iPhone or iPad and backed up in iCloud.
If a second speaker is added, both can be paired to form a stereo pair that also works with Apple TV, provided they are the same model and located in the same room. Important for resetting: A stereo pair must be separated beforehand.
Reset and set up HomePod again
The easiest way to do this is in the Home app, using the Apple account that was used to set up the HomePod. Tap on the HomePod, then on the „Settings“ button, on „Reset HomePod,“ and on „Remove Device“.
If that doesn't work, try adjusting the device itself:
- Unplug the HomePod, wait at least 10 seconds, and plug it back in.
- Wait 10 seconds and place your finger on top of the HomePod.
- Leave your finger in place until the white rotating light turns red and three beeps sound.
Then a beep sounds and the pulsating white light indicates that the HomePod is ready for setup again.
Why speech recognition should not be missing
I consider voice recognition the most important step after setup, especially in a household with multiple people. Only with it does each invited person get their own music and, with Personal Requests, their own messages and appointments. Guests can still use Siri, but the music will then play from the primary user's account, whose personal taste profile remains unaffected.
If the speaker stops responding later, Apple recommends restarting it first in the Home app. Music that starts playing on its own also has its own solution.
Did the setup work for you right away, or did you get stuck at a particular step? Let us know in the comments which message held you up and what finally helped.
Frequently Asked Questions: Setting up HomePod
An iPhone or iPad is required. The HomePod cannot be set up with a Mac.
Lock your iPhone or iPad, unlock it, go to the Home screen, and hold it near the HomePod. If that doesn't work, tap the Add button in the Home app, then tap „Add Device,“ „More Options,“ and „HomePod.“ If it's not there, reset it.
Apple recommends at least iOS or iPadOS 16.3 for the HomePod (2nd generation) and at least 27.2 for the HomePod mini 2. Your iPhone or iPad should be up to date before setup anyway.
Switch your iPhone to the desired network. If the Home app shows a network discrepancy, tap „Show Details“ and move the HomePod to the new Wi-Fi network. If no message appears, reset the HomePod and set it up again.
Apple does not recommend this for setup. The HomePod uses the Wi-Fi network your iPhone or iPad is connected to.
It's connected to a computer or power supply that isn't rated for 20W (9V, 2.22A). Connect it to a suitable 20W power supply and try again.
To unpair a stereo pair, first use the Home app. Then, in the Home app, tap the HomePod using the Apple account you used to set it up, open Settings, select „Reset HomePod,“ and then „Remove Device.“ If that doesn't work, try unplugging the device itself: Unplug it, wait at least 10 seconds, and plug it back in. After another 10 seconds, place your finger on the top of the device and hold it there until the light changes from white to red and you hear three beeps.