
Do you want to watch TV or stream films? Do you want to play games on your TV or use your favourite applications? Then the Apple TV should be just the thing for you. We'll show you how to set up your Apple TV correctly and everything you can do on Apple's small TV box.
So you have decided to get an Apple TV? Congratulations! Whether Apple TV HD or Apple TV 4K, both have a number of great features and capabilities, including Siri, third-party app and accessory support, Apple Music, the TV app, and more.
Getting to know Apple TV
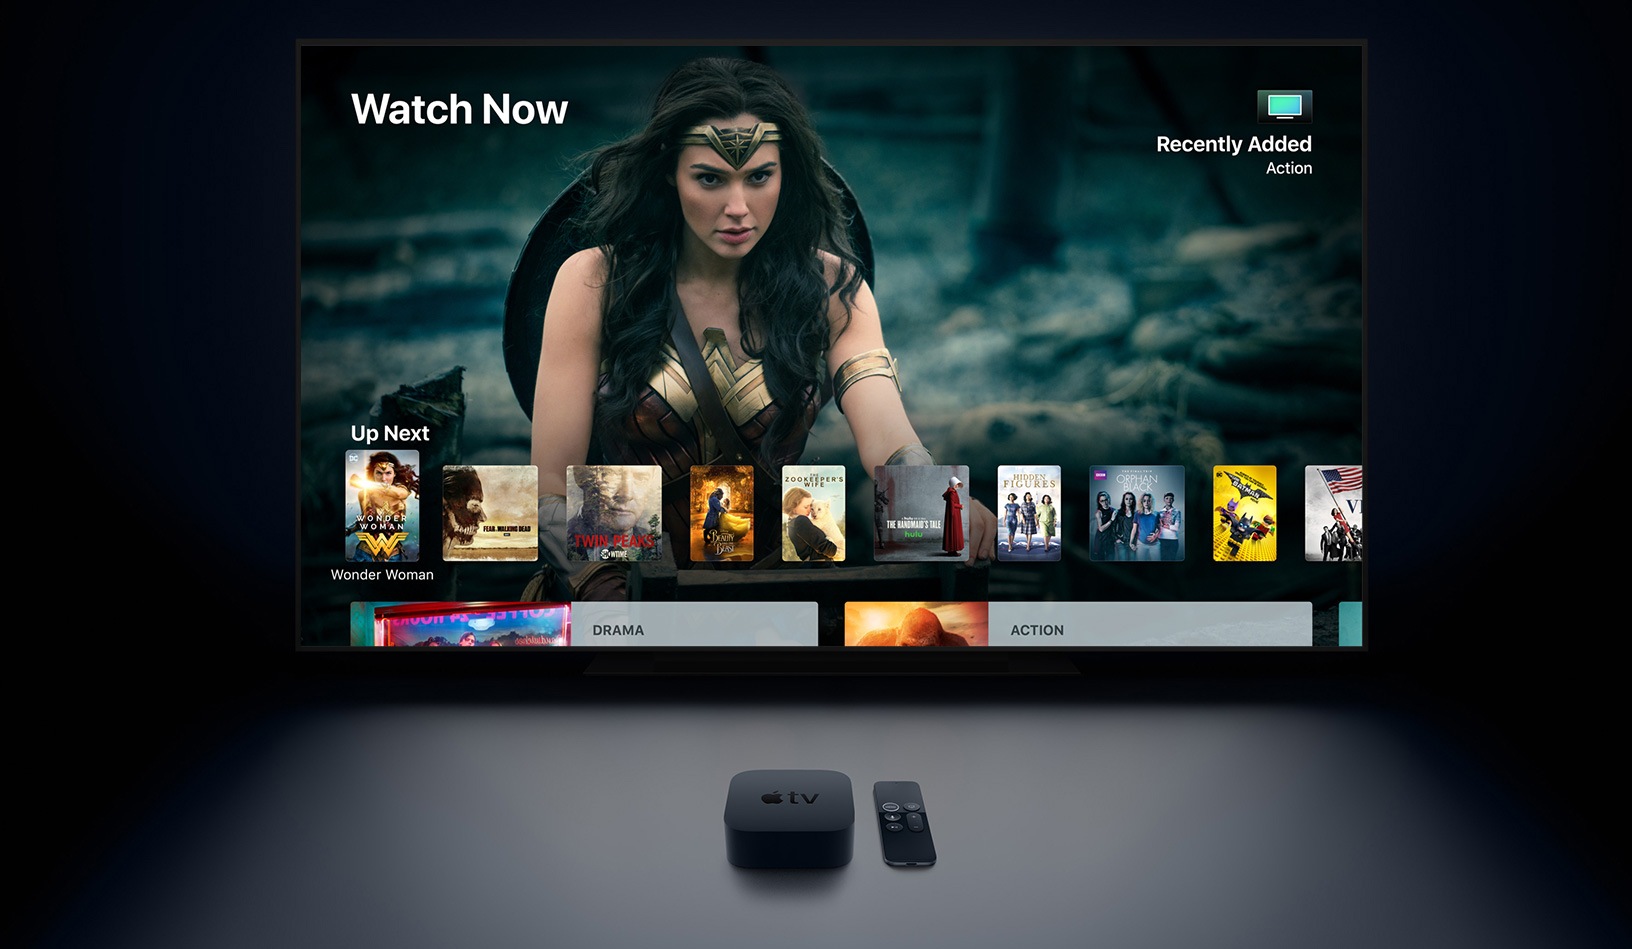
The Apple TV – as we know it today – was introduced in 2015 as the fourth generation Apple TV. Today it is only available as the Apple TV HD in Apple's range. It is basically a simple streaming box, but it was the first of its kind to support third-party applications under tvOS. Even though the little wonder box is a bit thicker than its predecessor, the Apple TV HD still decorates every living room. The Apple TV 4K retains the physical shape of the Apple TV HD – the difference is the inner values. The 4K version is powered by an A10X Fusion chip and allows the user to play films in Ultra HD. In addition to 4K, the Apple TV also supports High Dynamic Range or HDR content – both via HDR10 and Dolby Vision formats, as many iTunes and third-party content is available in one form or another. In addition to the iTunes offering, you can access countless other apps – including games with single and multiplayer modes, news applications and apps from various streaming platforms and much more. Basically, every user should get their money's worth. Of course, you have access to the films and TV shows you have bought or rented, and your photos and videos in iCloud are available to you at any time - and of course your Apple TV also gives you access to your personal music library.
Apple TV setup
Whether it's an Apple TV HD or an Apple TV 4K, setting up your new Apple TV is pretty easy and quick thanks to tvOS. Apple offers users two options - manual or almost automatic setup. Using your iPhone, you can automatically connect the Apple TV to your home WiFi network, iTunes and iCloud account. Of course, you still have to enter a few things manually, but the most important part of the setup process is done at the touch of a button. With manual setup, you have to enter everything yourself, from the login details for your iTunes account to your WiFi password - quite tedious. The Apple TV HD and Apple TV 4K come with the so-called Siri Remote - a long, slim remote control with the Menu, TV, Play/Pause and Volume buttons, as well as another important button: Siri. In countries where Siri is available, users can use Apple's voice assistant to open applications on the Apple TV and play music or certain TV episodes and films. You can also check sports scores, the weather, stocks, and even play games - so Siri Remote is very versatile. The smart remote is designed to navigate the entire user interface, including the Apple TV keyboard and applications. The Home button (small TV icon) can take you directly to either the TV app or the Apple TV home screen. The glass trackpad on the top of the remote allows you to swipe through the Apple TV user interface and can be clicked to make selections like the trackpad on a Mac.
How to set up your Apple TV automatically using your iOS device
To set up your new TV box with an iPhone, iPad, or iPod touch, you first need to pair your Siri Remote with the Apple TV itself. After connecting and starting the device, the configuration screen will appear. Now you need to connect your Siri Remote to the TV box – to do this, press the touch surface of the Siri Remote. If pairing doesn't work, hold down the Menu and Volume Up buttons for five seconds. Next, you need to select the language and country, and then you can activate Siri. You will now be asked whether you want to complete the setup using an iOS device or manually – to do this, select "Configure with device." Follow the on-screen instructions on your iOS device and Apple TV. Next, settings such as iTunes, iCloud, and Wi-Fi login information will be transferred from your iPhone, iPad, or iPod touch to the Apple TV. Once this is done, you need to decide whether you want to enable the password request for iTunes purchases. You can then connect your Apple TV to your cable provider if necessary. This allows you to conveniently access the content on your TV via the TV box – provided the provider supports this feature. If you have multiple Apple TVs, you can decide whether all models should display the same home screen or not – you can find this feature under the name “Same Home Screen” in the settings. Select the “Accounts” menu item and then open “iCloud”. You can now control the function as you wish – however, all Apple TVs must be linked to the same iCloud. If you have chosen the Apple TV 4K and have a 4K TV, you will probably have to run an additional display test – follow the instructions in the image.
How to manually set up your Apple TV with the Siri Remote
Of course, you can also set up your Apple TV 4K or Apple TV HD manually if you prefer. To manually configure your new TV box, you first need to pair your Siri Remote with the Apple TV itself. After connecting and starting the device, the configuration screen will appear. Now you need to connect your Siri Remote to the TV box – to do this, press the touch surface of the Siri Remote. If pairing doesn't work, hold down the Menu and Volume Up buttons for five seconds. Now you can select the language and country and activate Siri. You will then be asked whether you want to complete the setup using an iOS device or manually – select "manually."
Next, you need to select your WiFi network and enter the relevant password. Once you have completed this step, your Apple TV will be activated - now you just need to enter your Apple ID and you can get started. Of course, you will still need to make a few settings, such as activating/deactivating location services and the like. You can also decide whether or not you need a password request for purchases - this function can be recommended if you have children in the household.
When the Siri Remote is not enough
If the Siri Remote isn't enough for you, you can of course pair a whole range of accessories with your Apple TV and use them to control it. In addition to universal remote controls, you can also find various controllers for gaming - make sure they have the Made for iPhone (MFi) certification. Of course, various Bluetooth headphones can also be paired with Apple's TV box.
For example, if you want to control your Apple TV with your iPhone or iPad, you can do so using the Apple TV app integrated into iOS. You can easily access this from the Control Center. If this menu item isn't already there, open your iPhone's Settings and navigate to the "Control Center" field. Then go to "Customize Controls." Now you can select the "Apple TV Remote" item and then save it. Note: You can connect a maximum of two Bluetooth devices to your Apple TV at the same time. This means you can connect either two third-party game controllers or one game controller and a pair of Bluetooth headphones.
Although tvOS and iOS apps have different code, Apple allows developers to bundle their apps. This means you get the tvOS version of an app for free if you've already purchased its iOS counterpart. You can check this in the App Store on your Apple TV under "Purchased Items." Enjoy the television of the future.