
A concert ticket without an app, a loyalty card from the studio around the corner, a library card with a QR code: until now, passes like these only made it into the Wallet app through workarounds. With iOS 27, you can create them yourself. On iPhones set to German, the feature is called "Karte erstellen", and in Germany it works a little differently than in the US.
The Wallet app has long been more than a place for credit and debit cards. Loyalty cards, boarding passes and event tickets have been part of it for years, and iOS 27 adds seven more new features for the Wallet app. Until now, however, adding a pass depended on the issuer: either there was an app with Wallet support, or you needed a third-party app that converted an existing card into a digital format.
With the feature Apple calls "Create a Pass", this workaround is no longer necessary. The guide below is based on the final version of iOS 27 and was tested on an iPhone 18 Pro Max set to German.
Key Facts at a Glance
- The feature sits behind the plus icon in the Wallet app and is called "Karte erstellen" in German.
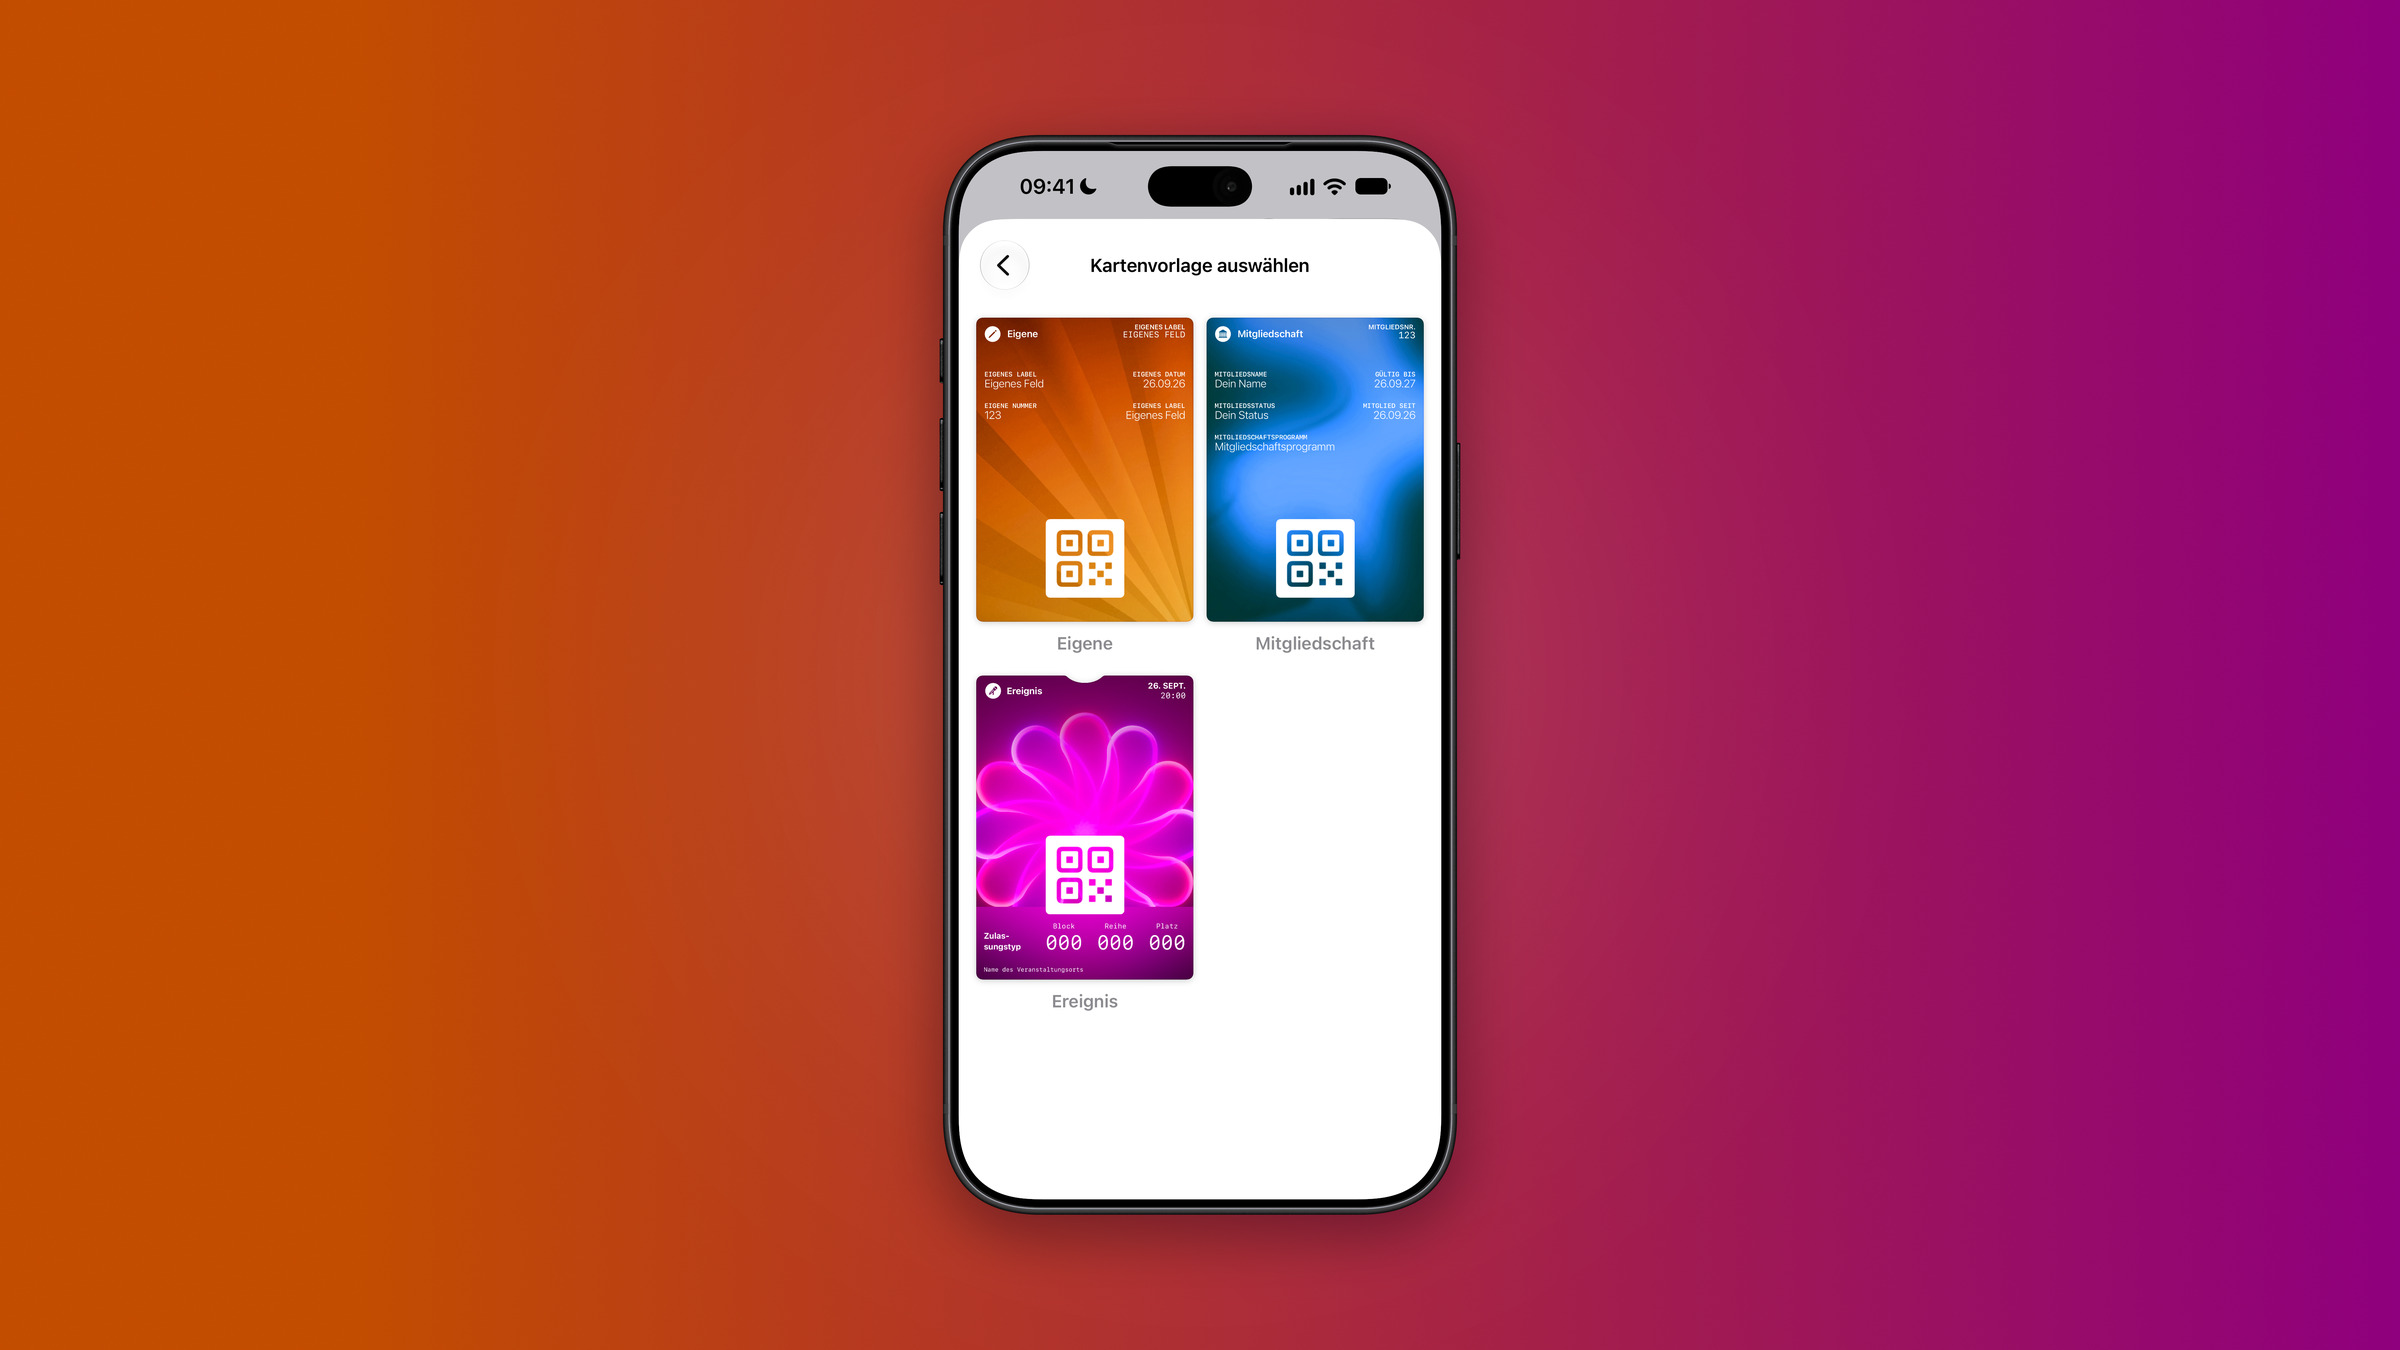
- There are three templates to choose from: Custom, Membership and Event.
- Wallet does not offer the automatic camera scan via Visual Intelligence in the EU, but manual creation works without restrictions.
- The iPhone reads the barcode or QR code of the physical card using the camera.
- For the design, there are twelve background colors, four textures and seven ready-made background designs.
How to Find Create a Pass
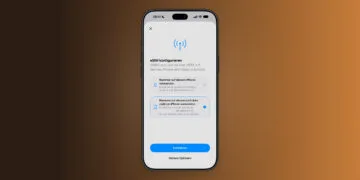
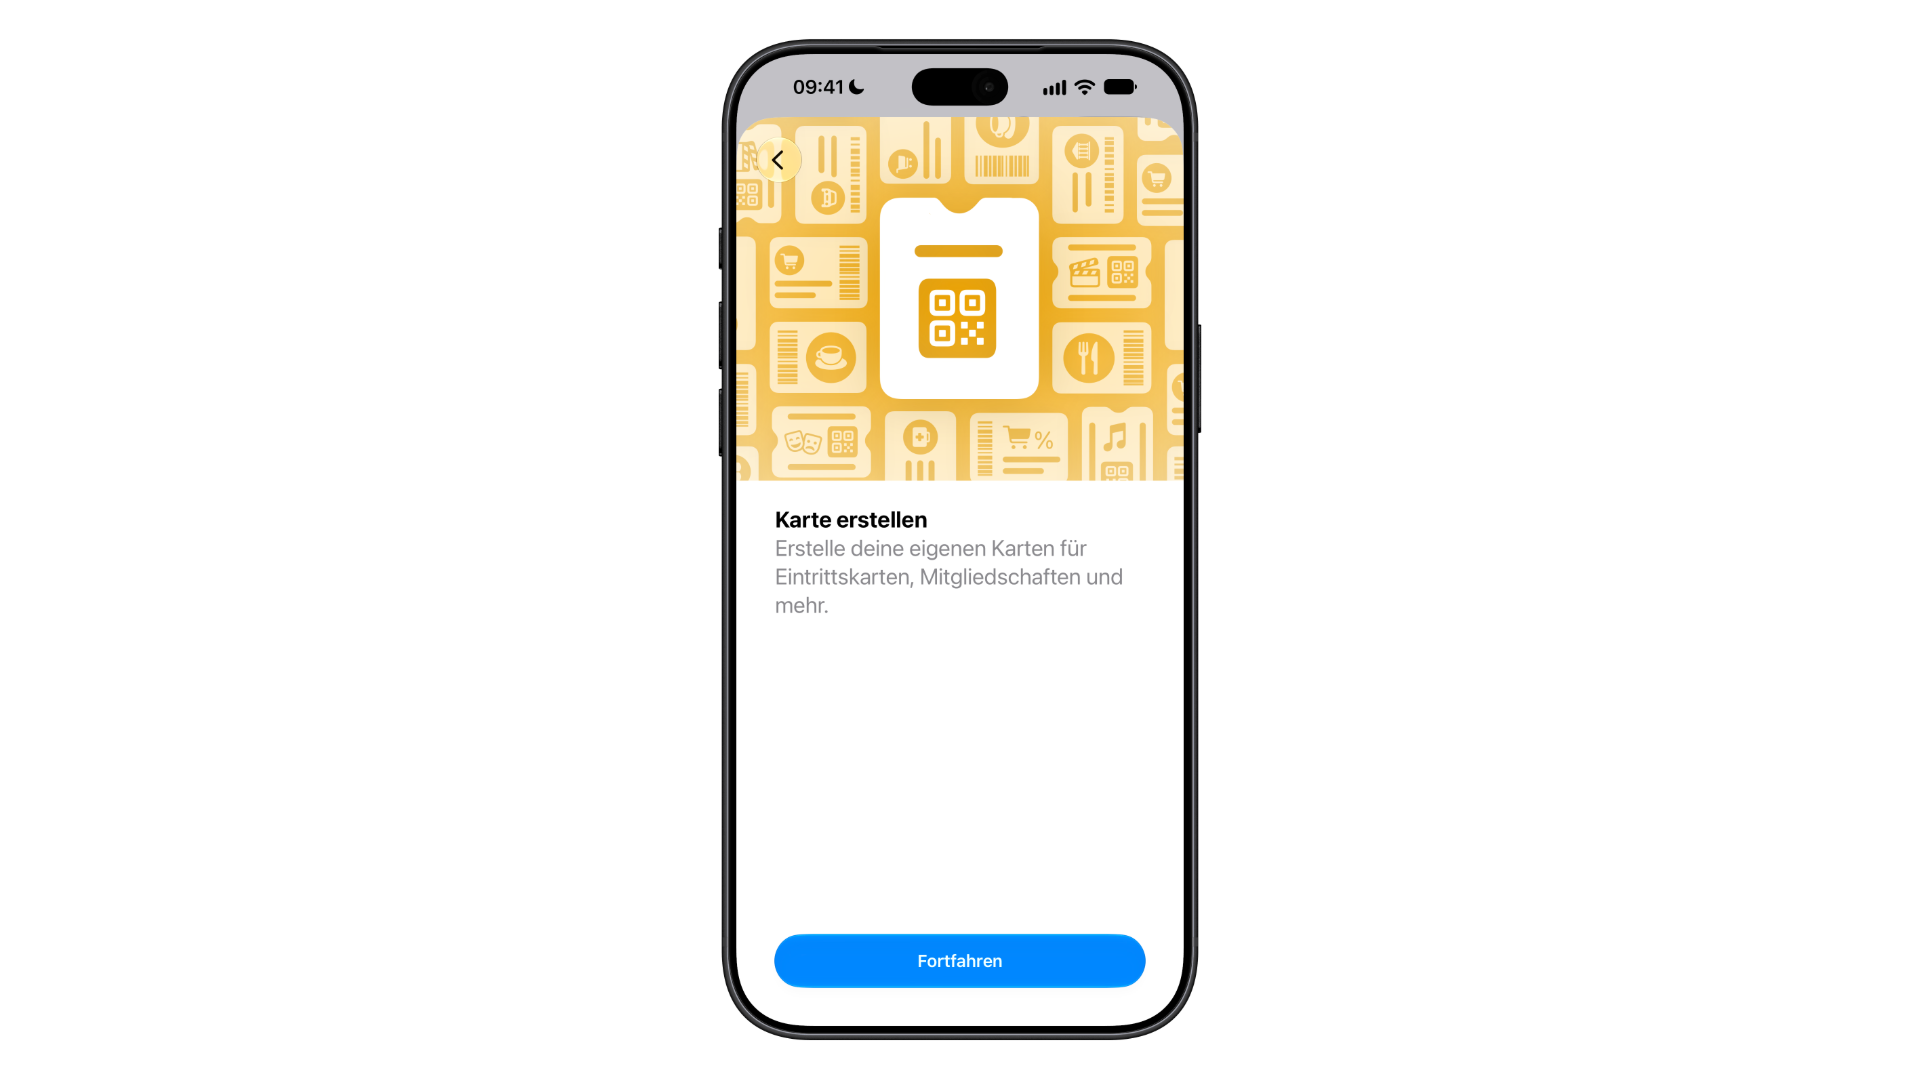
You start with the plus icon at the top of the Wallet app. Among the options for adding something, you will find "Create a Pass". The intro screen describes the feature as a way to create your own passes for tickets, memberships and more.
The feature is meant for all the cards that were left out until now - such as a ticket for a concert without its own app, or the loyalty card of a local business that never built Wallet support using Apple's PassKit system. Instead of a photo of the card, you get a real, structured pass that you can open just like any other Wallet item.
No Camera Scan in Germany
In the US, Wallet can capture an existing card with the camera and automatically match it to a suitable template using Visual Intelligence. On our iPhone 18 Pro Max set to German, this option does not appear: after tapping "Continue", you go straight to the template selection.
The scan is one of the features tied to Siri AI, which Apple is not launching on iPhone and iPad in the EU for now. Switzerland, as a non-EU country, is not affected. Manual creation, on the other hand, is available everywhere without restrictions and only takes a few more minutes.
Creating a Pass Step by Step
Creating a pass manually is straightforward as long as you have the necessary details at hand - and since you are holding the physical card anyway, that is rarely a problem. Here's how to do it:
- Open the Wallet app and tap the plus icon at the top.
- Choose "Create a Pass" and tap "Continue".
- Under "Choose a Pass Template", select one of the three templates.
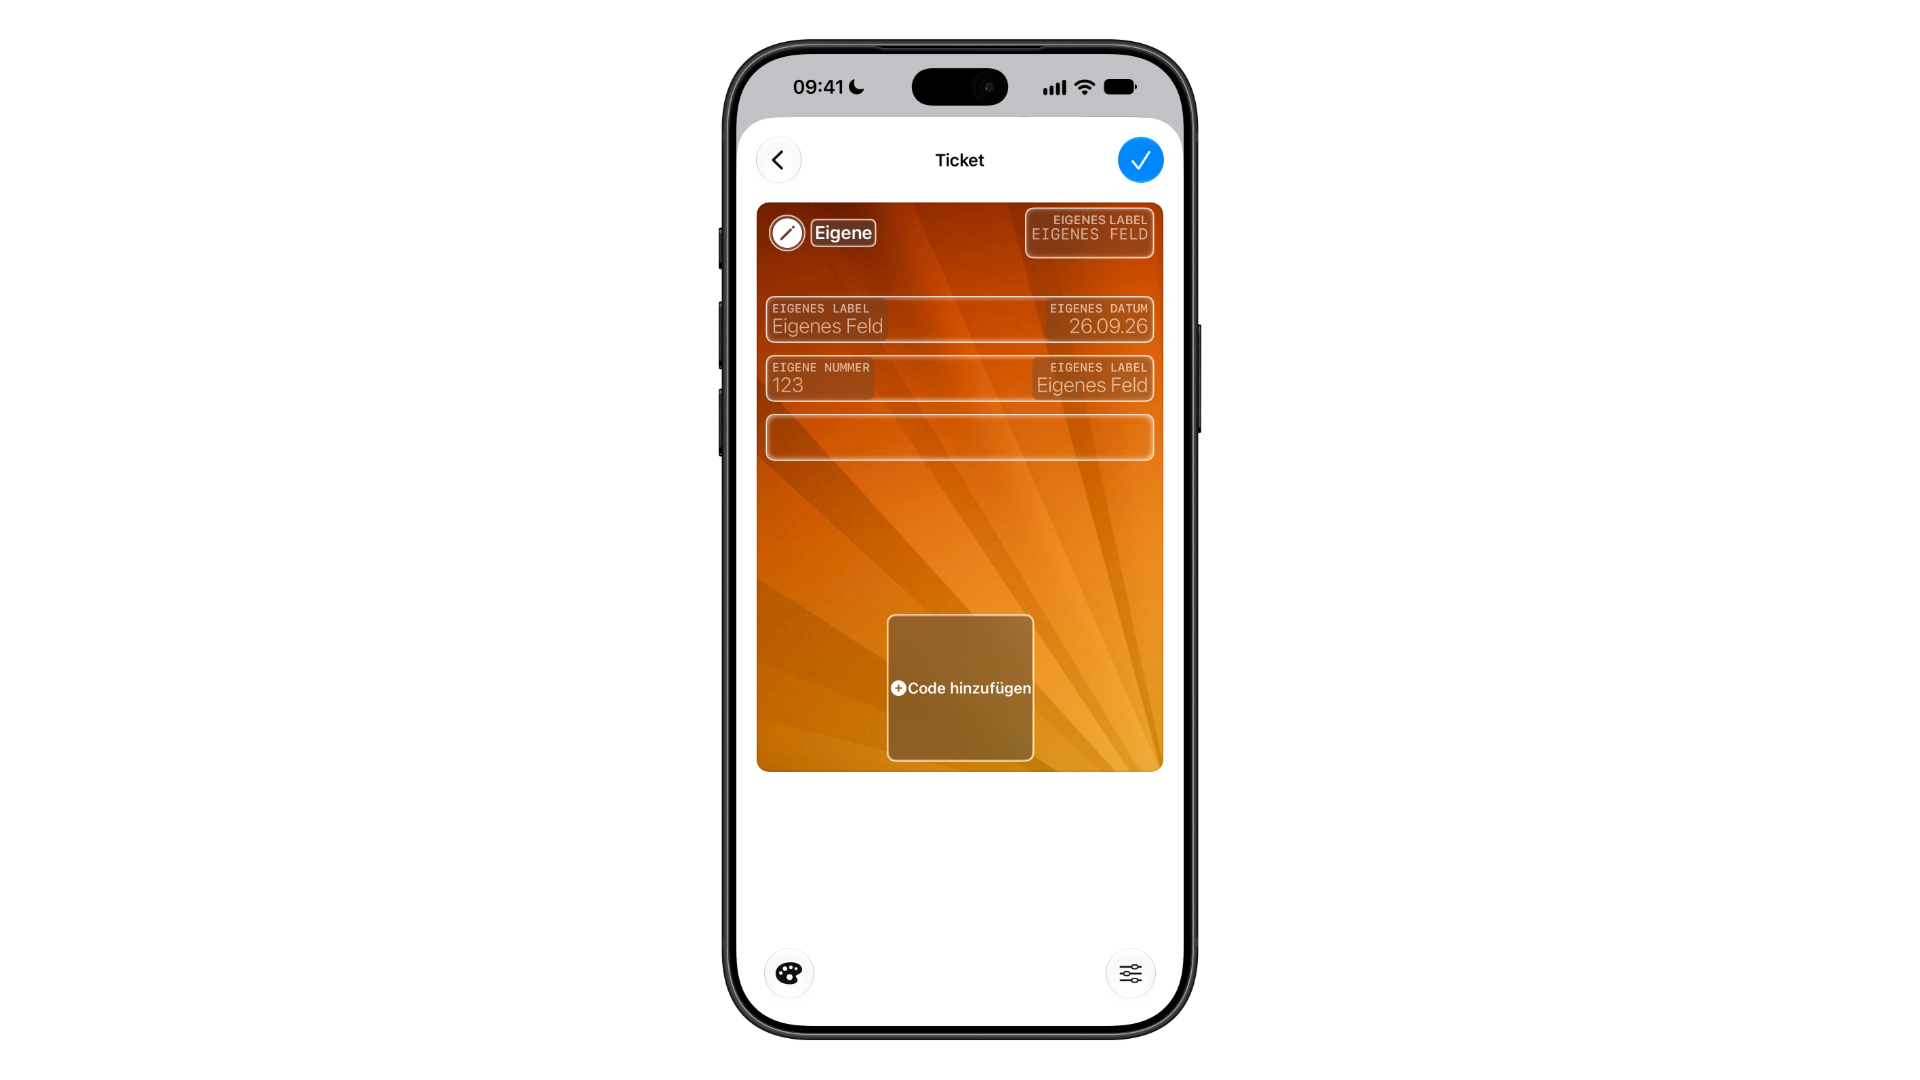
- Tap the individual fields to adjust their labels and content.
- Tap "Add Code" and point the camera at the barcode or QR code of the physical card.
- Use the palette icon at the bottom left to change the background, and the icon at the bottom right to adjust the fields.
- Tap the blue checkmark at the top right to save the pass.
The Three Templates
The templates differ in layout and default color:
| Template | Designed for | Pre-filled fields | Default color |
|---|---|---|---|
| Custom | anything that doesn't fit another template | freely labeled fields for text, date and number | Orange |
| Membership | gym, club, library | member name, member number, member status, valid until, member since, membership program | Blue |
| Event | concert, theater, cinema | date and time, section, row, seat, admission type, venue name | Purple |
The color is more than just decoration: since Wallet shows the passes in a visual stack, it lets you tell your own entries apart at a glance. If the pre-filled fields don't fit, you can remove them or replace them with others using the icon at the bottom right, such as date, contact, coupon code, VIN or insurance details.
Scanning the Code Correctly
When empty, the large field in the lower half of the pass is labeled "Add Code". Tapping it opens the camera, and the first barcode or QR code it detects goes straight into the field. There is no need to line it up with a frame.
The system copies the scanned code without checking what it stands for - even the barcode on a medicine package could be read in. If several codes are nearby, the wrong one can easily end up in the pass. The safest approach is to place the card on its own on a clear surface.
Colors, Textures and Background Designs
The palette icon at the bottom left offers two options: "Background Color" and "Choose from Library". Under "Background Color", there are twelve colors, split into six hues - teal, blue, purple, red, orange and green - and six shades ranging from light gray to black.
Below that, under "Texture", there are four options: Bars, Rays, Glass and Color, with "Color" giving you a plain, solid surface.
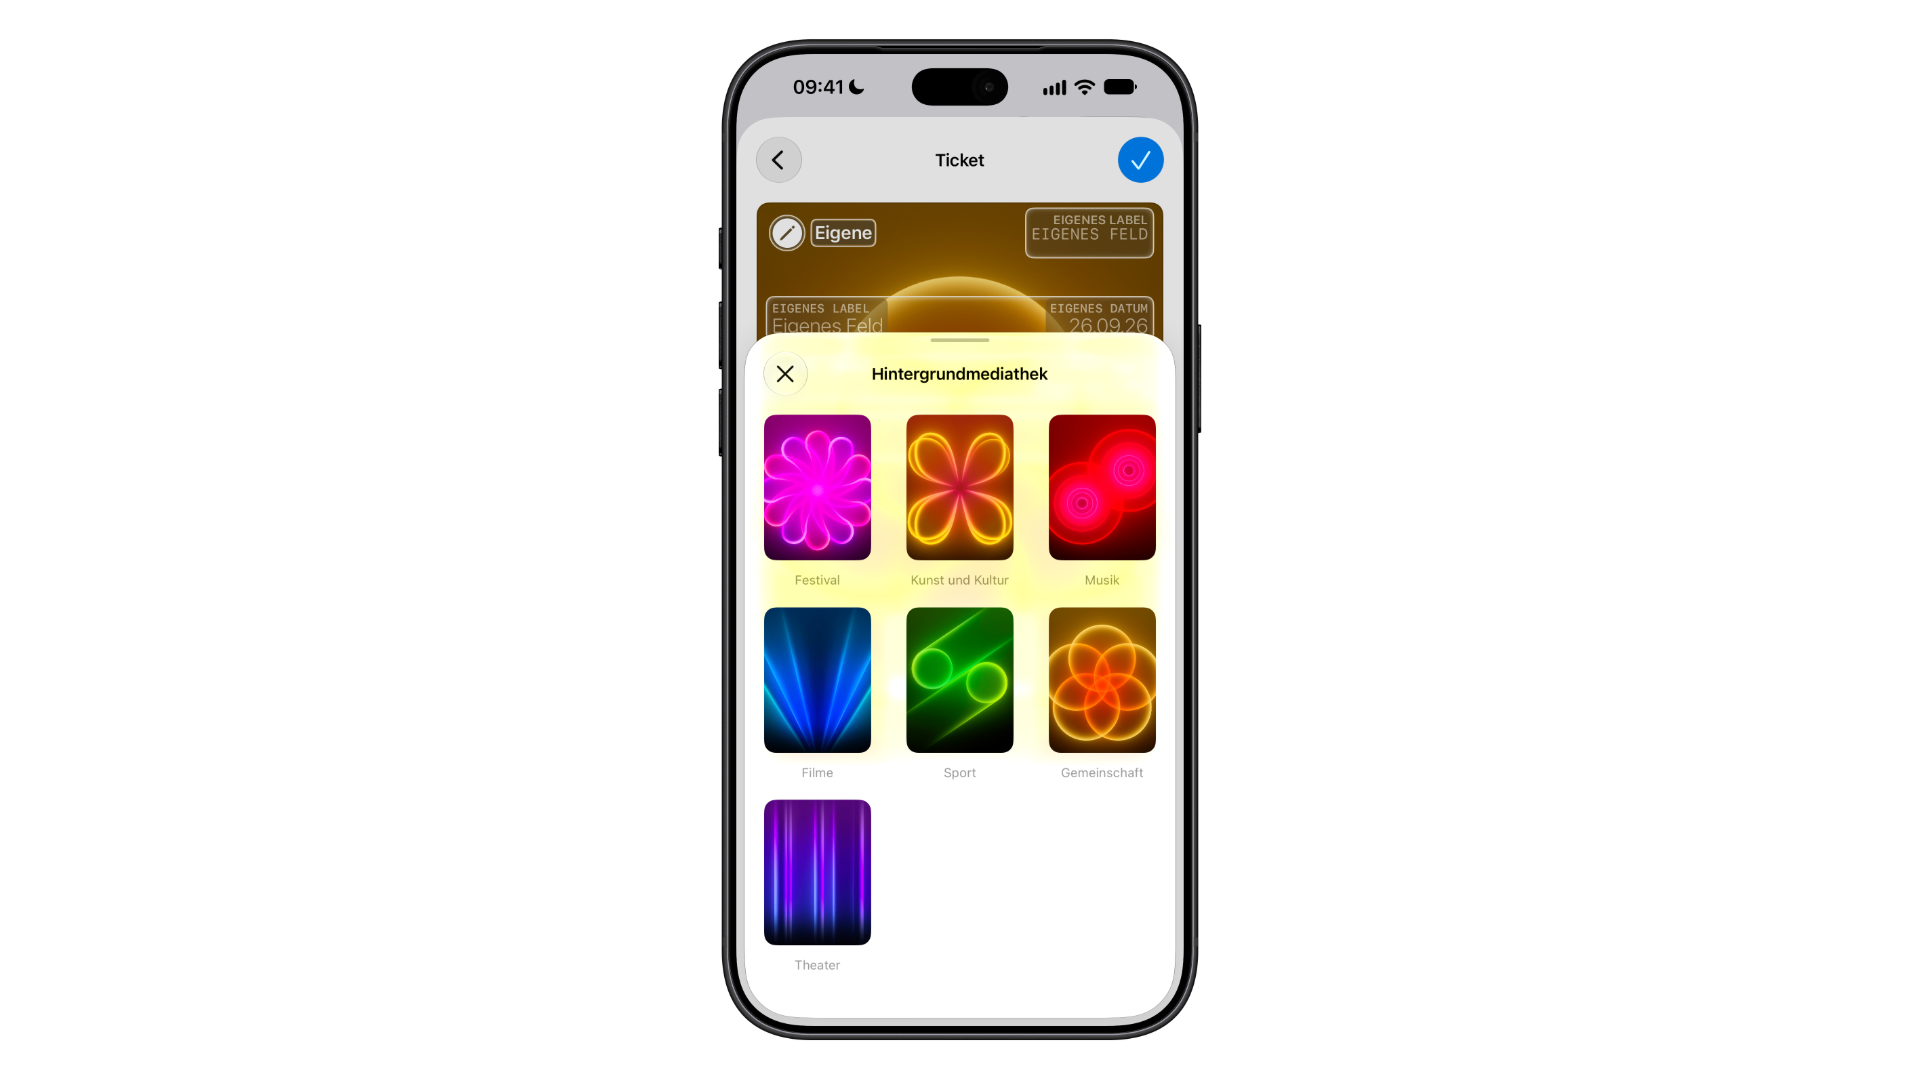
"Choose from Library" does not open the Photos app, but Apple's own background library. It contains seven ready-made designs made of light shapes: Festival, Arts and Culture, Music, Movies, Sports, Community and Theater. You cannot use your own photo as a background.
Editing Passes Later
A finished pass isn't set in stone. Once you select it in the Wallet app, you can reopen and edit it via the three-dot menu at the top right - handy if, for example, a membership number changes or an expiration date is extended.
Why Apple Is Adding This Feature
There is a bigger shift behind this feature. Apple introduced PassKit back in 2012 with iOS 6, but it was mainly airlines, large retailers and ticketing platforms that used it consistently. Many gyms, cafés, libraries and smaller loyalty programs never built their own Wallet pass, because getting there requires a developer account and certificates.
With Create a Pass, Apple decouples the growth of Wallet from the willingness of issuers and puts it in the hands of users.
Create a Pass - The Key Points at a Glance
With Create a Pass, the Wallet app in iOS 27 becomes the home for tickets and membership cards, regardless of whether the issuer ever built its own app. In Germany, this works through manual creation with three templates, twelve colors, four textures and seven background designs. The first pass takes a little patience, but each one after that goes faster.
Which card from your wallet would you add to the Wallet app first - and do you miss the camera scan, or is doing it by hand quick enough for you? Tell us in the comments how you handle it.
FAQ: Create a Pass in iOS 27
A new feature in the Wallet app that lets you create your own digital passes - for example from tickets, membership cards or library cards that don't have Wallet support. On iPhones set to German, it is called "Karte erstellen".
In the Wallet app, tap the plus icon at the top and choose "Create a Pass". After tapping "Continue", you get to the template selection.
No. Wallet does not offer the automatic scan via Visual Intelligence in the EU, as it is one of the features tied to Siri AI. Switzerland is not affected. Manual creation works everywhere.
Three: Custom (orange) with freely labeled fields, Membership (blue) for access cards such as a gym or club, and Event (purple) for concerts, theater and cinema, with fields for section, row and seat.
Via the "Add Code" field. The camera automatically reads the first barcode or QR code it detects, without checking what it stands for. It's best to place the card on its own on a clear surface.
No. "Choose from Library" opens Apple's background library with seven ready-made designs such as Festival, Music or Theater, not the Photos app. On top of that, there are twelve background colors and the textures Bars, Rays, Glass and Color.
Yes. Select the pass in the Wallet app and reopen it for editing via the three-dot menu at the top right.